


Installing a power supply means mounting the unit in your case, connecting the motherboard and component cables, and checking everything before you power on. The job is mostly about matching connectors correctly and routing cables so they stay clear of fans and sharp edges.
I based this guide on manufacturer manuals and spec sheets, published standards such as ATX, and widely documented PC building practice. The steps below apply to standard desktop builds; small form factor cases and proprietary prebuilt systems may differ, so check your case and PSU documentation first.
When You Need to Install or Replace a Power Supply
You install a power supply when you are building a new PC from parts, replacing a failed unit, or upgrading to a model with more capacity or better connectors. A replacement also makes sense when you add a power-hungry graphics card and the component maker recommends more headroom than your current unit provides.
You can skip this job if your current PSU already meets the recommendations from your CPU and GPU makers and has the connectors your parts need. If you are only swapping a case fan or adding storage, you do not need to remove the power supply.
The most common mistake at this stage is guessing the wattage. Size the unit from the component makers' published recommendations, not from a hunch or a forum post. If you are shopping for a higher-capacity unit, my roundup of 850W power supplies for gaming PCs can help you compare options before you commit.
What You Need Before You Start
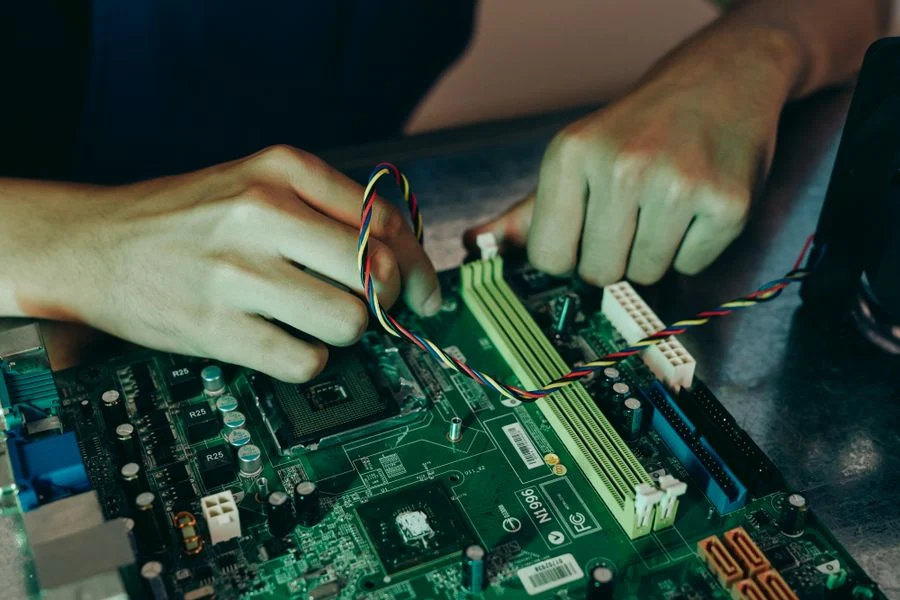
Gather your tools and clear a workspace before you touch any hardware. A clean, well-lit table and a few basic tools make the job faster and reduce the chance of losing screws inside the case.
- A Phillips screwdriver that fits your case screws
- The power supply and its original modular cables
- Your case manual and PSU manual or spec sheet
- A flashlight or phone light for tight corners
- Zip ties or velcro straps for cable management
- A grounding strap or a grounded metal surface to discharge static
Use only the modular cables that came with that exact power supply. Pinouts differ between brands and even between models from the same brand, so a cable from another unit can send power to the wrong pins. Never open the power supply itself; its capacitors can hold a dangerous charge after unplugging.
[cog_pick asin=”B0F3XW1J16″ guide=”1289″]
How to Install a Power Supply Step by Step
Work with the PC unplugged and the case open. The order below keeps cables manageable and lets you check each connection before the next one.
- Unplug everything and ground yourself. Disconnect the power cord, press the case power button a few times to drain residual power, and touch a grounded metal surface or wear a grounding strap.
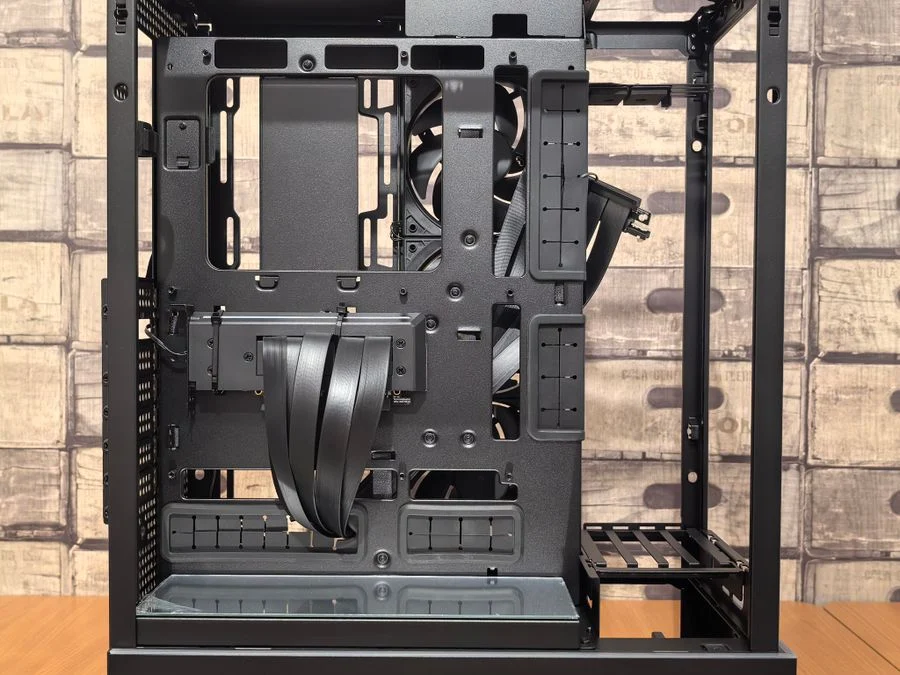
- Check the case and PSU orientation. Most cases mount the PSU at the bottom with the fan facing down through a filtered intake, but some cases or PSUs call for fan-up mounting. Follow your case manual and make sure the intake is not blocked.
- Slide the PSU into the bay. Feed it in from the back or side as your case allows, then align the screw holes. Support the unit with one hand while you start the screws.
- Secure the PSU with screws. Use the four mounting screws from your case kit and tighten them evenly. Do not overtighten, since case threads strip easily.
- Connect the motherboard power cables. Plug the 24-pin ATX cable into the motherboard and the CPU power cable into the header near the socket. These connectors are keyed, so do not force them.
- Connect the GPU power cables. Seat each PCIe power connector fully until the latch clicks, and avoid sharp bends near the plug. If your card needs multiple connectors, use separate cables rather than daisy-chaining when the PSU provides them.
- Connect drives and accessories. Attach SATA power to any 2.5-inch or 3.5-inch drives and Molex or SATA power to case fans, fan hubs, or lighting controllers as needed.
- Route and secure the cables. Pull slack to the back of the case, keep cables clear of fan blades and sharp edges, and fasten them with zip ties or velcro. Leave enough slack at each connector so nothing is under tension.
- Recheck every connection. Confirm the 24-pin, CPU, GPU, and drive cables are fully seated, then plug the power cord back in and flip the PSU switch to the on position.
- Boot and check. Power on the system, enter the BIOS or UEFI, and confirm the hardware is detected. If the system does not post, shut down and recheck the CPU and 24-pin cables first.
| Cable | Where It Goes | What to Check |
|---|---|---|
| 24-pin ATX | Motherboard main power header | Fully latched, no bent pins |
| CPU power (4-pin or 8-pin) | Header near the CPU socket | Correct cable, not a PCIe cable |
| PCIe power | Graphics card power inputs | Seated until the latch clicks |
| SATA power | Drives and some accessories | Straight connector, no strain |
| Molex | Fan hubs and older accessories | No loose pins, not forced |
Common Mistakes to Avoid
Most PSU problems come from a handful of avoidable errors. Check your work against this list before you close the case.
- Mixing modular cables from different units. Pinouts vary between brands and models, so a borrowed cable can damage the PSU or components. Use only the cables that shipped with your exact unit.
- Forcing a connector. Keyed connectors only fit one way. If a plug will not seat with light pressure, you have the wrong cable or the wrong orientation.
- Leaving the GPU power connector partly seated. A loose PCIe plug can cause crashes or shut down the system under load. Push until the latch clicks and avoid sharp bends right at the plug.
- Blocking the PSU intake. A PSU pressed against carpet, a solid panel, or a tangle of cables runs hotter. Keep the intake clear and use the case filter.
- Guessing the wattage. Size the unit from the CPU and GPU makers' recommendations and the PSU spec sheet, not from a guess. Too little headroom can cause instability under load.
When to Call a Professional
Most standard ATX builds are within reach of a careful first-time builder. Call a professional if you have a proprietary prebuilt system with non-standard connectors, a small form factor case with tight clearances, or a warranty that requires authorized service.
Also stop and seek help if you see damaged pins, smell burning, or hear repeated clicking from the PSU. Never open the power supply to investigate; its capacitors can hold a dangerous charge after unplugging. For warranty questions, check the manufacturer's terms directly.
Frequently Asked Questions
Do I need to remove the motherboard to install a power supply?
You usually do not need to remove the motherboard. Most cases let you slide the PSU into a bottom or rear bay and route cables through cutouts. Removing the board is only necessary in some small form factor cases or when the case manual says so.
Can I use cables from my old power supply?
Use only the modular cables that came with your exact power supply. Pinouts differ between brands and models, so an old cable can send power to the wrong pins and damage components. Check the PSU manual if you are unsure which cables belong to the unit.
Which way should the power supply fan face?
Most bottom-mounted cases call for the fan facing down through a filtered intake, but some cases and PSUs specify fan-up mounting. Follow your case and PSU manuals. Whichever way you mount it, keep the intake clear of carpet, cables, and solid panels.
How do I know if my power supply is enough for my build?
Size the unit from the CPU and GPU makers' published recommendations and the PSU spec sheet rather than a guess. Add headroom for drives, fans, and future upgrades. If you are unsure, the component makers' guidance is the place to start.
Final Thoughts
The single most important takeaway is to use only the cables that came with your exact power supply and to seat every connector fully before you power on. Mount the unit per your case manual, keep the intake clear, and size it from the component makers' recommendations.
Take the steps in order, recheck the 24-pin and CPU cables if the system does not post, and never open the PSU itself. A careful install is a boring one, and that is exactly what you want.
