


To install an M.2 SSD, you slide the drive into the M.2 slot on your motherboard at a slight angle, secure it with a screw or mounting clip, and then confirm in BIOS or Disk Management that the drive is detected. The whole job usually takes less than fifteen minutes once you have the right screwdriver and know which slot to use.
This guide covers desktop motherboards and laptops with accessible M.2 slots. I based this guide on manufacturer manuals and spec sheets, published standards such as PCIe, USB, and ATX, and widely documented PC building practice. You do not need prior building experience, but you do need to follow your specific motherboard manual for slot locations and keying.
When to Install an M.2 SSD and Why It Matters
You should install an M.2 SSD when your current storage is full, when you want faster game load times, or when you are building a new PC and want a clean, cable-free boot drive. M.2 drives mount directly to the motherboard, so they save space and remove the need for data and power cables that traditional 2.5-inch SSDs require.
The performance benefit depends on the interface. A PCIe 4.0 or PCIe 5.0 NVMe drive can move far more data than a SATA SSD, but your motherboard and CPU must support that generation to see the full speed. If you are comparing options for a gaming build, my roundup of NVMe SSDs for gaming can help you match a drive to your board.
You can skip this upgrade if your current drive is fast enough for your work and you have free space. Laptop owners should check whether the bottom panel is user-accessible and whether the M.2 slot is occupied before buying a drive. Some thin laptops solder storage to the board, which rules out an easy swap.
What You Need Before You Start
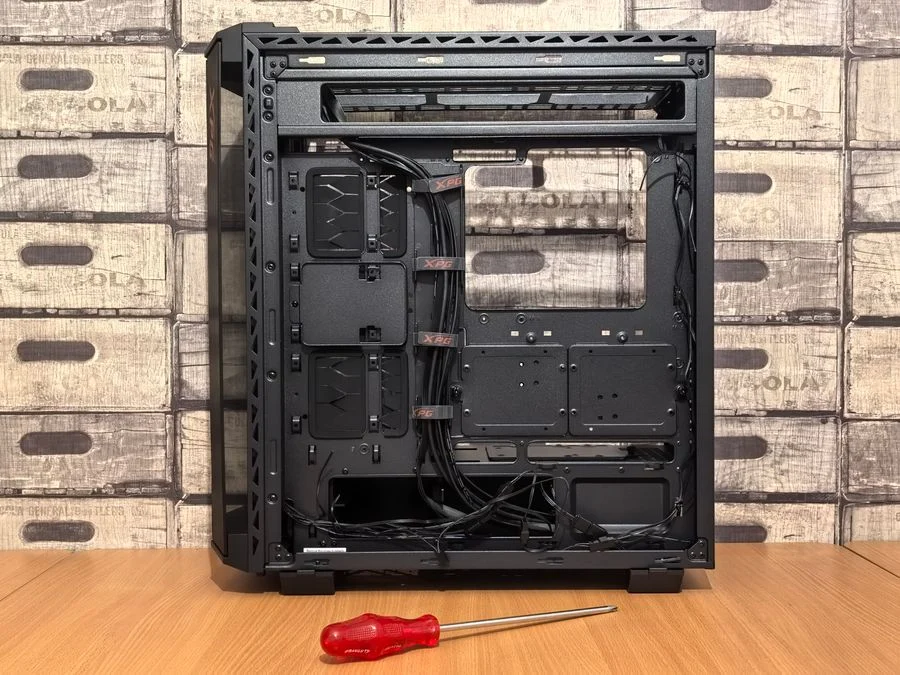
Gather your tools and confirm compatibility first. The wrong screwdriver or a missing mounting screw can stall the job, and a drive with the wrong keying will not fit the slot.
- The M.2 SSD itself: confirm the form factor (typically 2280) and the keying (M key for most NVMe drives) against your motherboard manual.
- A small Phillips screwdriver: size PH0 or PH1 usually fits M.2 mounting screws, but check your manual.
- The mounting screw and standoff: many motherboards include these in a small bag or pre-installed in the box; some use a tool-less clip instead.
- An anti-static wrist strap or a bare metal touch point: to ground yourself before handling the drive.
- Your motherboard manual: for slot locations, shared lanes, and any heatsink removal steps.
- A flashlight or phone light: helpful for seeing small screws in a dark case.
Check whether your motherboard shares bandwidth between M.2 slots and SATA ports or PCIe slots. The manual will state if installing a drive in one slot disables a port or drops a graphics slot to a lower speed. This matters most on older or smaller boards where lane counts are tight.
[cog_pick asin=”B0FGP7W3NJ” guide=”1290″]
Step by Step: How to Install an M.2 SSD
Follow these steps in order. Shut down the operating system fully, switch off the power supply, and unplug the power cable from the wall before you open the case. Ground yourself by touching bare metal on the case or by wearing an anti-static wrist strap.
- Open the case and locate the M.2 slot. On a desktop, remove the side panel. Consult your motherboard manual for the exact slot location; the primary slot is often between the CPU socket and the top PCIe slot, or under a heatsink cover.
- Remove any heatsink or cover. Many boards ship with a metal or plastic cover over the M.2 slot. Unscrew it or release the latch, and set the screws aside in a small cup so they do not roll away.
- Check the standoff and screw position. The drive rests on a standoff and is held by a screw at the far end. If your board uses a tool-less clip, confirm the clip is open. The standoff should align with the notch at the end of the drive.
- Insert the SSD at a slight angle. Line up the notch on the drive connector with the key in the slot. Slide the drive in gently at roughly 30 degrees until the contacts are fully seated. Do not force it; if it will not go, check the keying and flip the drive only if the slot allows it.
- Press the drive down and secure it. Lower the far end of the drive onto the standoff and tighten the screw gently until snug, or close the tool-less clip. Over-tightening can damage the drive or the board.
- Reinstall the heatsink if your board has one. Peel the protective film from the thermal pad if the manual instructs it, then seat the cover and tighten its screws in a cross pattern.
- Close the case, reconnect power, and boot. Plug the power cable back in, switch on the PSU, and start the PC. Enter BIOS or UEFI and check that the drive appears in the storage list.
- Initialize the drive in your operating system. On Windows, open Disk Management, initialize the new disk, and create a volume. On macOS, use Disk Utility to erase and format the drive. For a boot drive, follow your OS installation steps instead.
If the drive does not appear, reseat it and check the slot again. Some boards require you to enable an M.2 slot in BIOS or update the BIOS for newer drive support. A BIOS update should never be interrupted, so use a wired power source and follow the manufacturer instructions exactly.
Common Mistakes to Avoid
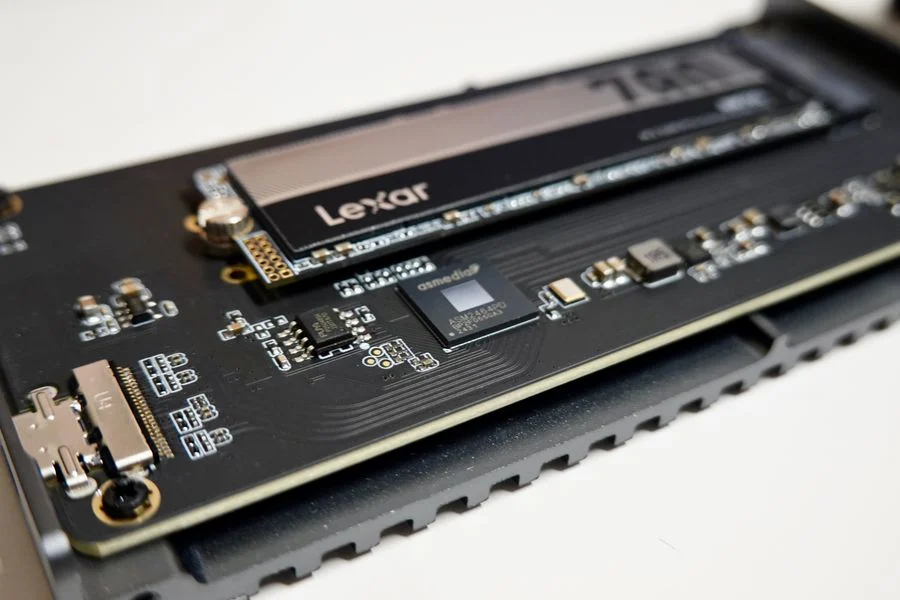
- Forcing the drive into the slot: the notch and key must align. Forcing it can bend pins or damage the connector. If it does not slide in easily, stop and recheck the keying against the manual.
- Leaving the standoff in the wrong position: a missing or misplaced standoff means the drive sits at an angle and can flex. Confirm the standoff matches the drive length before screwing down.
- Over-tightening the mounting screw: snug is enough. Too much force can crack the drive PCB or strip the standoff threads.
- Forgetting the thermal pad film: if your heatsink uses a protective film over the pad, peel it off as instructed. Leaving it on reduces cooling and can cause the drive to throttle under load.
- Skipping the BIOS check: if the drive is not detected, you may need to reseat it or change a BIOS setting. Checking before you install an OS saves time later.
When to Call a Professional
Most desktop installations are straightforward, but some situations call for help. If your laptop has a sealed chassis, soldered storage, or a warranty seal that you are unsure about, contact the manufacturer or a repair shop before opening it. The same applies if you are not comfortable working around a power supply or a liquid cooling loop.
If the drive is not detected after reseating and a BIOS check, or if the system will not boot after the install, a technician can diagnose slot, firmware, or board issues. For warranty and software licensing questions, refer to the manufacturer or software publisher terms.
Frequently Asked Questions
Do I need to unplug the PC before installing an M.2 SSD?
Unplug the power cable and switch off the power supply before opening the case. This prevents accidental contact with live circuits and protects the drive from static discharge. Ground yourself before handling the SSD.
Why is my new M.2 SSD not showing up in Windows?
A new drive often needs to be initialized and formatted in Disk Management before it appears in File Explorer. If it is missing from BIOS as well, reseat the drive and check the slot and BIOS settings against your motherboard manual.
Can I install an M.2 SSD in a laptop?
Many laptops have an accessible M.2 slot, but some use soldered storage or hide the slot under a sealed panel. Check your laptop manual or the manufacturer support page for upgrade options before buying a drive.
Does an M.2 SSD need a heatsink?
A heatsink helps a high-speed NVMe drive avoid thermal throttling under sustained load. Many motherboards include one, and some drives ship with one. Follow the manual for thermal pad and mounting instructions.
Final Thoughts
The key to a smooth M.2 install is preparation: confirm the slot and keying, ground yourself, and secure the drive without over-tightening. Once the drive is seated and detected in BIOS, initializing it in your operating system is the last step.
Take your time with the small screws and check the motherboard manual for shared lanes or heatsink film. A careful install keeps your storage upgrade simple and reliable.
