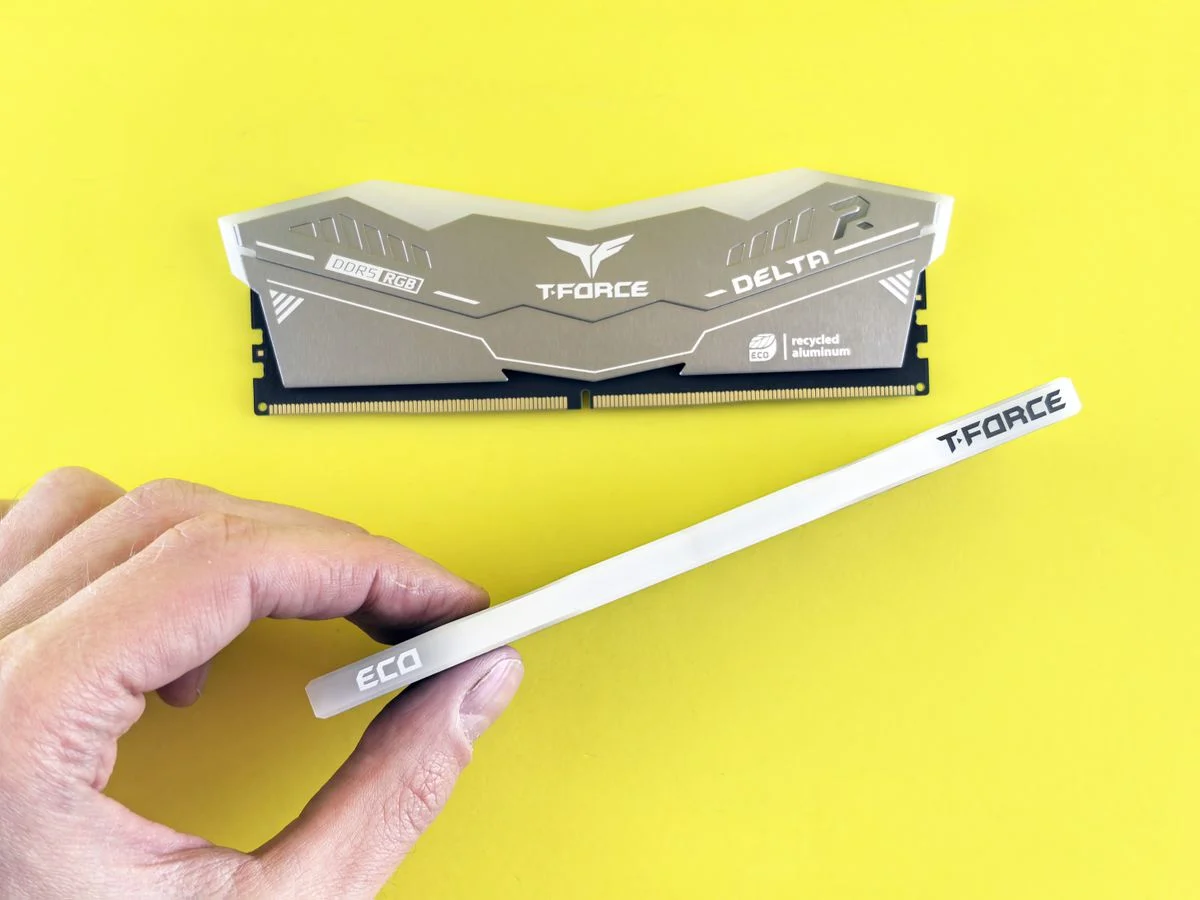


You enable XMP by entering your motherboard BIOS or UEFI, finding the memory profile setting, and selecting the profile stored on your RAM. That single change tells the board to run your memory at its rated speed and timings instead of the conservative default.
Most DDR4 and DDR5 kits boot at a baseline speed that sits well below what the modules can handle. The profile is already written into the RAM, so enabling it is usually a two minute job once you know where the setting lives. The steps differ slightly between Intel and AMD boards, and there are a few traps worth knowing before you save and exit.
Why Enabling XMP Matters
When you install a new memory kit, the motherboard reads a safe fallback speed defined by the platform standard, not the speed printed on the box. That fallback exists so the system boots on almost any hardware, but it leaves performance on the table. XMP (Extreme Memory Profile) is a small set of settings stored on the modules that describes the rated speed, voltage, and timings the manufacturer validated.
For gaming, the difference shows up most in CPU-heavy titles and in simulation or strategy games that lean on memory bandwidth. For general desktop work, the gap is smaller but still real. If you built a machine around a fast kit and never touched the BIOS, you are likely running slower than you paid for.
There is a platform split worth knowing. On Intel boards the setting is usually called XMP. On AMD boards it is often labeled DOCP, EXPO, or A-XMP depending on the vendor, because those boards apply the same profile data through their own naming. The underlying idea is identical: load the validated profile and let the board train the memory at that speed.
What You Need Before You Start
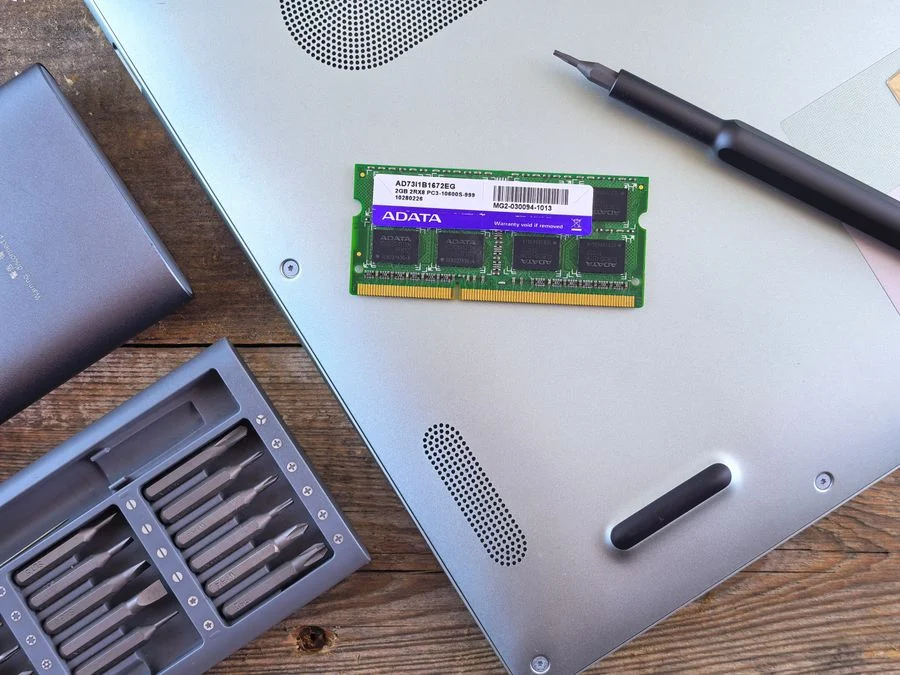
You do not need special tools, but a little preparation saves trouble if the system refuses to boot after the change.
- Your motherboard manual or the vendor support page, which lists the exact menu names and the memory slots to populate first.
- The spec sheet for your RAM kit, so you know the rated speed and the profile name to look for.
- A way to reach the BIOS: usually the Delete or F2 key during startup, sometimes a dedicated key on the board itself.
- A note of your current BIOS settings, or a phone photo of the memory page, so you can revert if needed.
- A USB drive with the latest BIOS file from the motherboard vendor, in case your current firmware does not recognize the kit properly.
One safety note applies here. Power down and unplug the system before you open the case to reseat memory, and touch a grounded metal surface first to discharge static. Inside the BIOS itself you are only changing settings, but a failed memory training cycle can leave the machine in a boot loop, so know where the clear CMOS jumper or button is on your board before you begin.
If you are still choosing parts, my roundup of DDR5 RAM for gaming covers kits that ship with validated profiles. For compact builds where board layout limits your slot choices, my roundup of Mini ITX motherboards for small builds is worth a look before you commit.
[cog_pick asin=”B0H4LSTG1N” guide=”1293″]
How to Enable XMP Step by Step
The exact labels vary by vendor, but the sequence is the same on nearly every consumer board. Work through these steps in order.
- Shut down and enter the BIOS. Restart the PC and press the BIOS key repeatedly as soon as the logo appears. If Windows loads too fast, use the advanced startup option in the operating system to reboot into firmware settings.
- Switch to advanced mode. Most boards open in a simplified view. Look for a toggle or tab labeled Advanced, or press the key shown on screen to leave the easy mode.
- Find the memory or overclocking page. On many boards this is called Ai Tweaker, Memory, OC, or Tweaker. The profile setting usually sits near the top of that page.
- Select the profile. Change the XMP, DOCP, or EXPO setting from Disabled or Auto to Profile 1. If your kit has more than one profile, Profile 1 is the one the vendor validated for your kit.
- Confirm the speed and timings. The board should display the rated speed and primary timings from the profile. If the numbers look wrong, back out without saving and check that the modules are seated in the correct slots.
- Save and exit. Use the save and exit command, usually F10, and let the system restart. The first boot after a memory change can take longer than usual while the board trains the memory, so give it a minute before assuming something is wrong.
- Verify in the operating system. Once you are back in Windows, open Task Manager, go to the Performance tab, and check the memory section. The speed shown there should match the profile you selected.
If the machine fails to post or drops back to the default speed after a restart, the board rejected the profile during training. That is common with four-stick configurations and with kits that are not on the vendor's qualified list. The fix is usually to drop to a lower profile, reseat the modules, or update the BIOS.
| Platform | Typical setting name | Where to look |
|---|---|---|
| Intel boards | XMP | Overclocking or memory page in advanced mode |
| AMD boards | DOCP, EXPO, or A-XMP | Memory or overclocking page, label varies by vendor |
| Laptops | XMP or memory profile | Often hidden or absent, check the manual first |

Common Mistakes to Avoid
- Leaving the profile on Auto. Some boards treat Auto as the fallback speed rather than the profile. If the reported speed does not change after you save, go back and set the profile explicitly.
- Mixing kits or filling all four slots on a two-stick board design. Memory training gets harder with more modules and mismatched sticks. If a four-stick setup will not hold the profile, run two sticks or accept a lower speed.
- Skipping the BIOS update. Early firmware often lacks support for newer kits. Check the vendor support page for the latest version before you blame the RAM.
- Assuming a failed boot means dead hardware. A boot loop after enabling the profile usually means the board could not train that speed. Clear CMOS, boot at default, and try again with a lower profile.
- Forgetting to verify. A profile that saves but silently falls back leaves you at the same speed as before. Always confirm in the operating system after the restart.
One more trap: laptop memory profiles are frequently locked or hidden by the manufacturer. If the setting is not visible in your laptop firmware, the manual or support page is the place to confirm whether it exists at all. Do not flash modified firmware to force it, since that can void your warranty.
When to Get Help
Most XMP problems are solved with a BIOS update, a reseat, or a lower profile. Escalate when the machine will not post at all after clearing CMOS, when you see repeated memory errors in a diagnostic tool at default speed, or when the board reports a hardware fault. At that point, contact the motherboard or RAM manufacturer support page with your model and kit details. If the system is a prebuilt under warranty, check the manufacturer terms before you change firmware settings, since some vendors treat that as outside coverage.
Frequently Asked Questions
Does enabling XMP void my warranty?
Enabling XMP does not normally void a warranty on desktop parts, since it uses a profile the memory vendor validated. Prebuilt system warranties can differ, so check the manufacturer terms before you change firmware settings.
Why does my RAM still show the old speed after enabling XMP?
The board likely rejected the profile during memory training and fell back to the default speed. Update the BIOS, reseat the modules in the recommended slots, and try again, or select a lower profile if the kit has more than one.
Is XMP the same as overclocking?
XMP applies a profile the memory vendor validated, so it is closer to running the kit at its rated spec than to manual overclocking. Pushing beyond the profile with custom timings and voltage is the overclocking part, and that is where stability risk rises.
Can I enable XMP on a laptop?
Some laptops expose a memory profile setting, but many manufacturers hide or lock it. Check your laptop manual or support page first, and do not flash modified firmware to force the option, since that can affect your warranty.
Final Thoughts
The single most important step is verifying the change after you save and restart. A profile that saves but falls back silently leaves you running at default speed, and you will never notice without checking Task Manager or the BIOS memory page.
Take the two minutes, confirm the reported speed, and keep a note of the clear CMOS procedure for your board in case a future BIOS update changes how the profile trains. I based this guide on manufacturer manuals and spec sheets, published standards such as DDR4 and DDR5, and widely documented PC building practice.