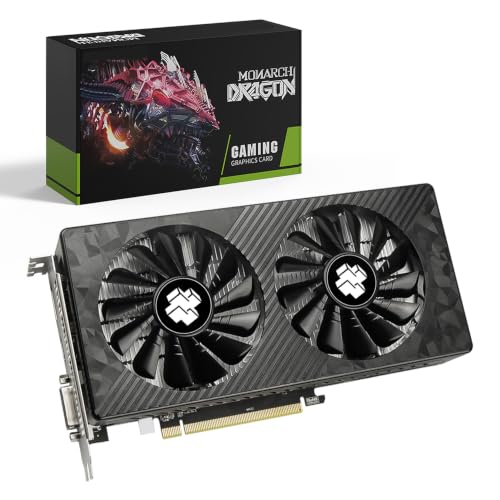


To install a graphics card, you power down the PC, unplug it, open the case, release the slot latch, and seat the card firmly in the top PCIe x16 slot before securing it and connecting power. The whole job usually takes less than an hour if you prepare the case and keep track of the screws.
The steps below walk you through preparation, physical installation, and first boot in order. I based this guide on manufacturer manuals and spec sheets, published standards such as PCIe, USB, and ATX, and widely documented PC building practice. Your motherboard manual is the final word on slot layout and connector placement.
When to Install a Graphics Card and Why It Matters
You install a graphics card when you are building a PC, replacing a failed card, or upgrading for more demanding games or GPU-accelerated work. The card handles rendering and display output, so it has a larger effect on gaming performance than almost any other single part.
Not everyone needs a new card. If your games run well at your monitor's resolution and refresh rate, you can skip the upgrade. If you mostly browse and watch video, integrated graphics on a modern CPU may be enough. Gamers targeting 1440p or higher, and anyone doing 3D rendering or video encoding, usually benefit most.
Platform matters too. On Windows, you should remove the old driver before swapping cards, and on macOS you need a card the operating system supports. Check the card and motherboard spec sheets for PCIe generation and power requirements before you buy.
What You Need Before You Start
Gather these items before you open the case so you are not searching for a screwdriver with the side panel off.
- A Phillips-head screwdriver that fits your case screws
- An anti-static wrist strap, or a bare metal surface on the case to touch for grounding
- The graphics card and any power adapter cables it requires
- Your motherboard manual and the card's installation guide
- A clean, flat work surface and a small container for screws
Check the card's spec sheet for its power connector type and recommended system power supply wattage. Check the motherboard manual for the primary PCIe x16 slot and any slot-sharing rules. If you are comparing options before buying, my roundup of graphics cards for 1440p gaming covers what to look for at that resolution.
[cog_pick asin=”B0DRRMZDH6″ guide=”1271″]
How to Install a Graphics Card Step by Step
- Shut down and unplug the PC. Use the operating system shutdown, switch off the power supply, and pull the power cord from the wall. Press the power button once more to drain residual power.
- Ground yourself. Touch bare metal on the case, or clip on an anti-static wrist strap, before you handle the card or any internal part.
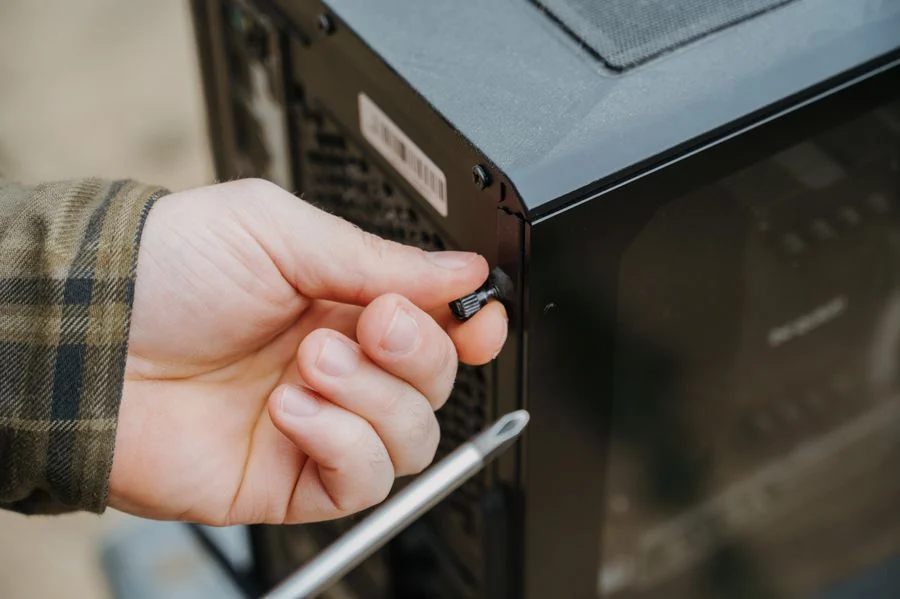
- Open the case. Remove the side panel per the case manual. Lay the PC on its side so the motherboard faces up.
- Remove the old card if present. Unscrew the bracket, press the PCIe slot latch, and pull the card straight out. Disconnect any power cables first.
- Clear the slot area. Remove the expansion slot covers that line up with the card's bracket and fans, and confirm the top PCIe x16 slot is free.
- Seat the card. Align the bracket with the case opening and press the card firmly into the slot until the latch clicks. Do not force it; if it resists, check alignment.
- Secure the bracket. Replace the screws that hold the card bracket to the case. A card that flexes in the slot can cause intermittent faults.
- Connect power. Plug the PCIe power cables from the power supply into every connector on the card. Use separate cables rather than daisy-chained adapters where the manual calls for it.
- Close up and boot. Reinstall the side panel, reconnect the power cord, and start the PC. Connect your monitor to the new card's output, not the motherboard's.
- Install or update the driver. Remove the old driver first if you swapped brands, then install the current driver from the card maker's site and restart.
After the first boot, open the display settings and confirm the monitor is running at its rated resolution and refresh rate. If the screen stays black, shut down and reseat the card and its power cables before trying anything else.
Common Mistakes to Avoid
- Skipping the power switch and cord. Working on a PC that is still plugged in risks damage to the card and the board. Shut down, switch off the PSU, and unplug it every time.
- Forgetting to ground yourself. Static discharge can damage components without any visible sign. Touch bare metal or wear a wrist strap before handling the card.
- Leaving the slot latch engaged. Forcing a card into a latched slot can bend pins or crack the slot. Press the latch open before seating and confirm it clicks closed afterward.
- Missing a power connector. A card with an empty PCIe connector may boot but fail under load. Check every connector on the card against its manual.
- Plugging the monitor into the motherboard. If your CPU has integrated graphics, the board output may light up while the new card sits idle. Connect the display to the card.
When to Get Professional Help
Most installations are manageable with basic tools, but some situations call for a technician. If the card does not fit because of case clearance, or the power supply lacks the required connectors, a professional can advise on a case or PSU swap without risking other parts.
Get help if the slot or card shows physical damage, if the PC will not post after reseating, or if you are uncomfortable working inside the case. A BIOS update should never be interrupted, so let someone experienced handle firmware if you are unsure. For warranty questions, refer to the manufacturer's terms.
Frequently Asked Questions
Do I need to uninstall old drivers before installing a new graphics card?
Uninstalling the old driver first is the safer habit, especially when switching brands. It avoids conflicts during the first boot. On Windows, use the card maker's uninstall tool or the system uninstaller, then install the new driver after the card is seated.
Which PCIe slot should the graphics card go in?
Use the primary PCIe x16 slot, usually the top full-length slot closest to the CPU. It offers the most bandwidth and is wired for the card's full lane count. Check your motherboard manual, since some boards share lanes with M.2 drives.
Can I install a graphics card with the power supply still plugged in?
No, shut down the PC, switch off the power supply, and unplug the power cord before opening the case. Residual power and accidental contact can damage the card or the motherboard. Ground yourself before handling any part.
Why does my monitor stay black after installing a new graphics card?
The monitor is likely connected to the motherboard output instead of the card, or a power cable is loose. Shut down, confirm the display cable is in the card, reseat the PCIe power connectors, and boot again before troubleshooting further.
Final Thoughts
The single most important habit is preparation: shut down, unplug, ground yourself, and read the motherboard and card manuals before you touch anything. Seating the card firmly and connecting every power cable prevents most first-boot problems.
Take your time, keep the screws organized, and verify the display settings after the first boot. A careful install is a quiet one.