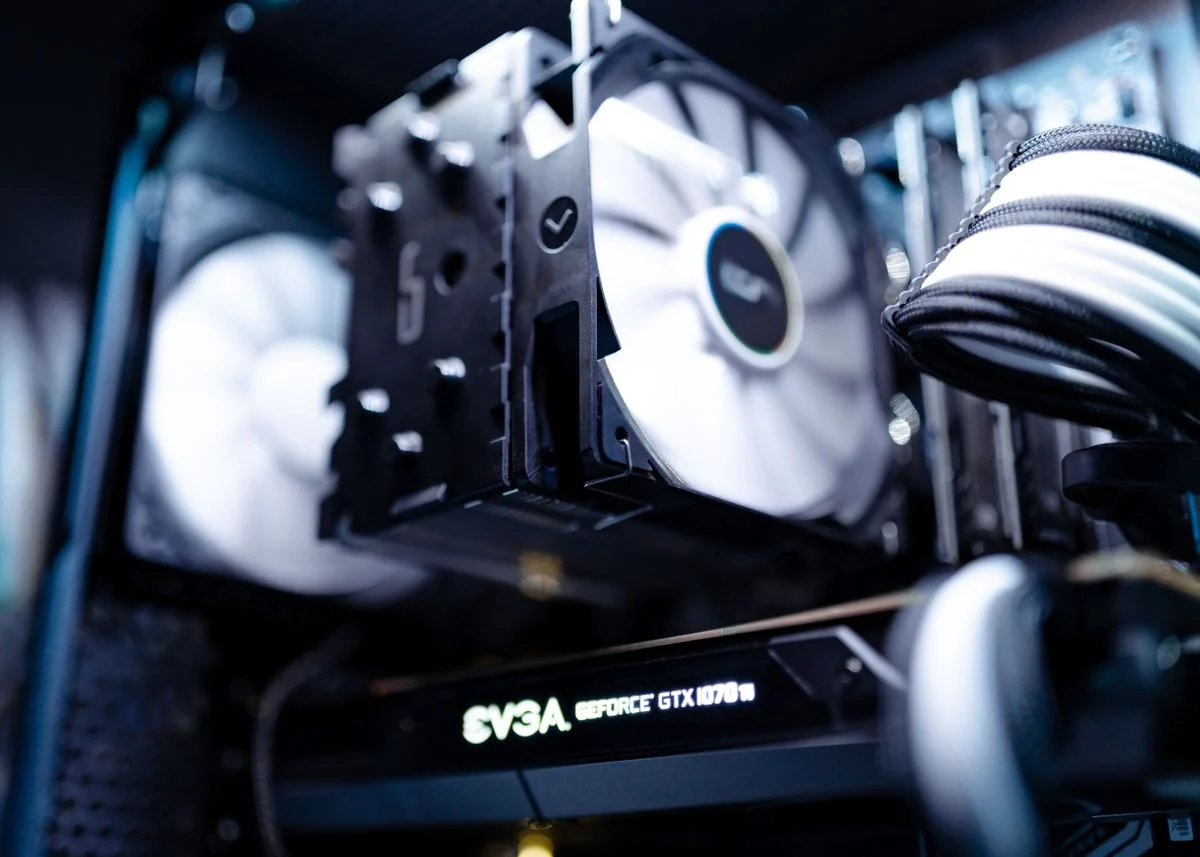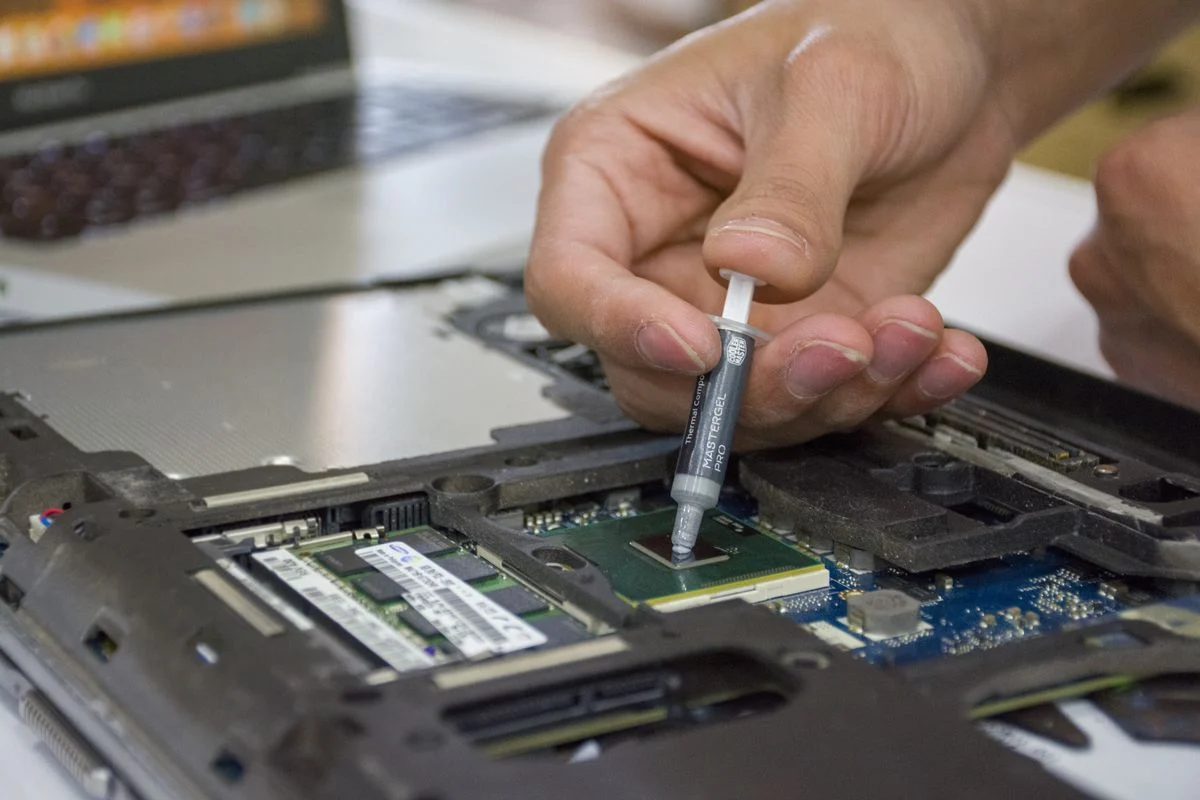


To install a CPU cooler, you remove the old cooler if one is present, clean the CPU, apply a small amount of thermal paste, set the cooler squarely on the CPU, and tighten its mounting hardware in a crosswise pattern until it is snug. Then you reconnect the fan cable to the CPU fan header and confirm the fan spins when you power on.
The details change with the cooler type and the socket, but the sequence does not. Most problems come from skipping prep, overtightening, or forgetting the fan header, so the steps below keep those points in view. I based this guide on manufacturer manuals and spec sheets, published standards such as PCIe, USB, and ATX, and widely documented PC building practice.
When You Need to Install a CPU Cooler
You install a CPU cooler in three main situations: a new build, a cooler swap on an existing system, or a move to a different socket. In a new build, the cooler goes on after the CPU is seated and before the motherboard goes into the case, because that gives you room to work. On an existing PC, you remove the old cooler first and clean the CPU before mounting the new one.
A cooler swap makes sense when the current cooler cannot keep up with your CPU under sustained load, when it is too loud at idle, or when it no longer fits your case or memory layout. If your temperatures are fine and the fan noise does not bother you, a swap is optional. If you are building in a small case or a warm room, plan the cooler around clearance and airflow before you buy.
Check the socket and mounting kit before you start. Intel and AMD sockets use different brackets, and some coolers ship with one set of hardware while others need a separate kit from the manufacturer. The motherboard manual lists the socket and the cooler manual lists supported hardware, so read both. If you are still choosing a cooler, my roundup of CPU coolers for hot rooms covers the trade-offs between air and liquid options.
What You Need Before You Start
Gather everything first so you are not searching for a screwdriver with the case open. The cooler box should include the mounting hardware for your socket, a backplate if the design needs one, and a fan cable. The motherboard manual tells you where the CPU fan header is and whether the board has a backplate cutout.
- The CPU cooler and its mounting hardware for your socket
- Isopropyl alcohol and a lint-free cloth or coffee filter for cleaning old paste
- Thermal paste, unless the cooler ships with a pre-applied pad or paste
- A Phillips screwdriver that fits the mounting screws
- An anti-static wrist strap, or a bare metal point on the case to touch
- The motherboard and cooler manuals
Before you open the case, shut down the PC, switch off the power supply, and unplug the power cord. Ground yourself by touching bare metal on the case or by wearing an anti-static wrist strap. Static damage is not always obvious at first, so treat grounding as a habit rather than a one-time step.
If you are also picking fans or a case to improve airflow, my roundup of CPU coolers for gaming is a natural place to compare designs. Just confirm the cooler height against your case clearance and the memory height against the cooler overhang using the manufacturer specs, not a guess.
How to Install a CPU Cooler Step by Step
Work on a clean, flat surface with good light. Keep the cooler and paste within reach, and keep the motherboard supported so it does not flex when you press down on the mounting hardware.
- Power down and open the case. Shut down the PC, switch off the PSU, unplug the cord, and remove the side panel. Ground yourself on bare case metal before you touch any component.
- Remove the old cooler if one is installed. Loosen the mounting screws in a crosswise pattern, disconnect the fan cable, and lift the cooler straight up. If the paste has dried and the cooler sticks, twist gently rather than pulling hard.
- Clean the CPU and the cooler base. Put a small amount of isopropyl alcohol on a lint-free cloth and wipe the old paste off the CPU heat spreader. Clean the cooler base the same way if you are reusing it, then let both surfaces dry.
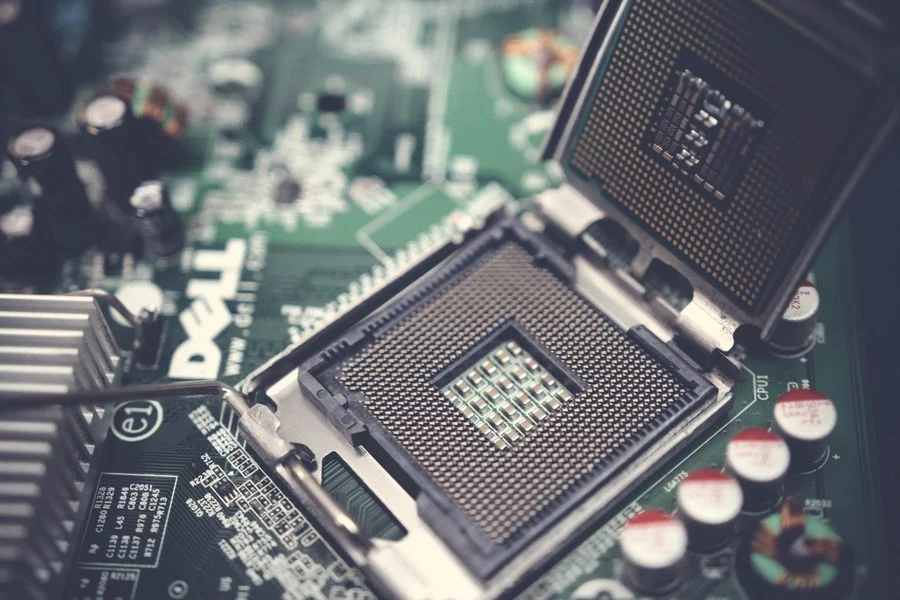
- Check the socket and mounting hardware. Confirm the cooler bracket matches your socket and that the backplate, if required, sits flat behind the motherboard. Follow the cooler manual for the correct hole pattern and orientation.
- Apply thermal paste. Place a small dot or a thin line of paste in the center of the CPU, following the cooler maker's guidance on amount. You do not need to spread it by hand, because mounting pressure spreads it.
- Seat the cooler squarely. Lower the cooler straight onto the CPU so the base contacts the paste evenly. Do not slide it around, because that can trap air and smear paste where it does not belong.
- Tighten the mounting hardware in a crosswise pattern. Turn each screw a little at a time, alternating opposite corners, until the cooler is snug. Stop when the hardware feels firm, and do not force it past the point the manual describes.
- Connect the fan cable. Plug the fan connector into the CPU fan header on the motherboard, which the board manual identifies. Route the cable so it cannot touch the fan blades.
- Close the case and power on. Reconnect the power cord, switch on the PSU, and start the PC. Watch the fan spin up and check that the BIOS or monitoring software reads a CPU fan speed.
- Verify temperatures and fan behavior. Let the system idle, then run a normal workload and watch the temperature in the BIOS or a monitoring tool. If the fan does not spin or the temperature climbs quickly, shut down and recheck the mounting and fan header.
If you update the BIOS during setup, never interrupt the process. A failed BIOS update can leave the board unable to boot, so use a stable power source and follow the motherboard manual exactly.
Common Mistakes to Avoid
Most cooler problems trace back to a few avoidable errors. Check these before you close the case.
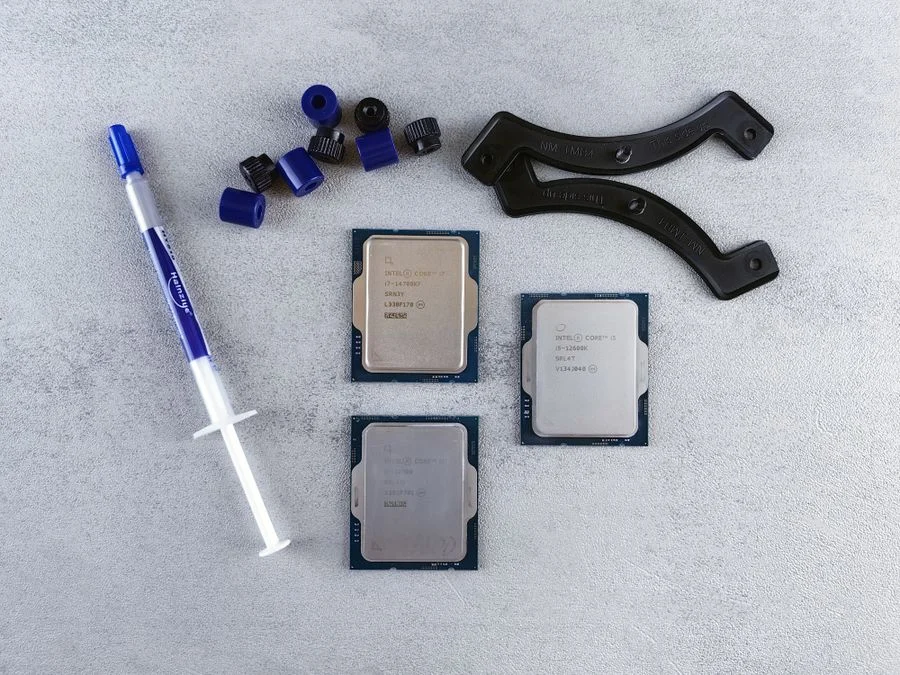
- Too much or too little thermal paste. Excess paste can spill onto the socket area, and too little leaves gaps. A small center dot or thin line is enough for most CPUs, so follow the cooler manual.
- Tightening one screw all the way first. This tilts the cooler and applies uneven pressure. Tighten in a crosswise pattern, a little at a time, until everything is snug.
- Forgetting the fan header. A cooler with no fan signal can trigger a boot warning or let the CPU heat up. Confirm the cable is on the CPU fan header, not a chassis fan header.
- Leaving the protective film on. Many cooler bases ship with a plastic cover. Peel it off before mounting, or the cooler will not transfer heat properly.
- Ignoring clearance. Tall memory, case side panels, and graphics cards can block a large cooler. Check the manufacturer's clearance figures before mounting, and test-fit before you tighten everything down.
When to Call a Professional
Most cooler installs are manageable at home, but a few situations justify professional help. If the motherboard is under warranty and the mounting hardware requires removing a backplate that the board maker says not to touch, ask the manufacturer or a repair shop first. If you are working on a prebuilt with unusual brackets or a sealed liquid loop, the builder's support team is the right contact.
Stop and get help if you see bent socket pins, a cracked CPU, or a cooler that will not sit flat after several attempts. For any warranty question, read the manufacturer's terms rather than relying on general advice. A local PC repair shop can also handle the job if you are not comfortable applying force to the motherboard.
Frequently Asked Questions
Do I have to remove the motherboard to install a CPU cooler?
You usually do not need to remove the motherboard if the case has a backplate cutout behind the CPU socket. Check the case and motherboard manuals first. If there is no cutout, removing the board is the safer route for backplate-style coolers.
How much thermal paste should I use on a CPU?
A small dot or a thin line in the center of the CPU is enough for most coolers. The mounting pressure spreads it across the heat spreader. Follow the cooler maker's guidance, since pre-applied paste and pad designs differ.
Can I install a CPU cooler without thermal paste?
You should not run a cooler without thermal paste unless it has a pre-applied pad or paste. The paste fills microscopic gaps between the CPU and cooler base. Without it, heat transfer suffers and the CPU can overheat under load.
What if my CPU fan does not spin after installation?
Shut down and check that the fan cable is on the CPU fan header and fully seated. Then confirm the header is enabled in the BIOS. If the fan still does not spin, try a known working fan header or a different fan cable.
Final Thoughts
The single most important takeaway is to prepare before you mount: clean the CPU, use the right bracket, apply a sensible amount of paste, and tighten in a crosswise pattern. That sequence prevents the uneven pressure and missed fan header that cause most install problems.
Take your time, keep the manuals open, and verify the fan and temperatures before you close the case. A careful install is quieter and more reliable than a fast one.